Thesis I: Adding Images
Estimated reading time: ~3 minutes with ~639 words.
This post is on how I added images to my thesis. I drew all my figures using Goodnotes 5 on an iPad, and used inkscape and cairosvg on a Linux machine to convert it to something that could be included in LaTeX.
Step 1: Importing to Goodnotes
The easiest way for me to do this was:
-
On computer: Compile latex file upload pdf to a private discord server.
-
On iPad: download pdf from discord open it in Goodnotes.
Step 2: Drawing
There are two kinds of images that I have in my thesis. The first is a full page image that goes as a background for the entire page.

The second is on the margins to explain the text in the main body.

Since I only export a single page in Step 3, I usually collect many of these small figures into a single page before exporting.

Step 3: Exporting from Goodnotes
I click on “Export this page” including page background and annotation, with PDF Data Format as “Editable” sharing it to my private discord server.

Step 4: Importing to Inkscape
I download the pdf from my discord server into a temporary directory, which for me is ~/Downloads/, and import it into inkscape with whatever default options inkscape provides me.
Step 5: Editing on Inkscape
Full page drawings
There is a layer on top of the image that needs to be removed, so I click anywhere on the image and click ‘Delete’.
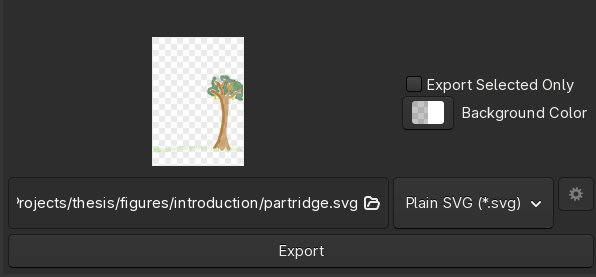
Since I want it to maintain the page ratio, I deselect everything (which exports with the original aspect ratio) and export to $PROJECT/figures/<chapter>/<image>.svg.
Margin drawings
For margin drawings, I have a page full of various drawings that are imported. I first remove the top layer on the image by clicking anywhere on the image and clicking ‘Delete’.
Case 1: No changes. There are some images that need no changes to be made. For these, I select the part of the image that comprises the necessary margin drawing and export to $PROJECT/figures/<chapter>/<image>.svg as above.
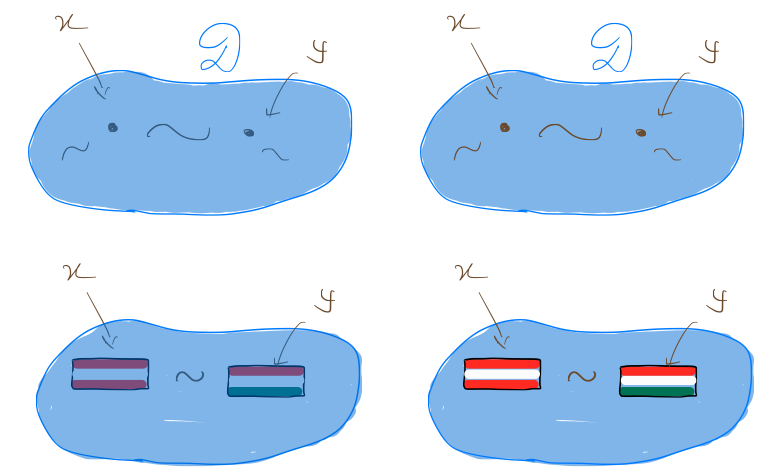
Case 2: Only layering differences. There are some images where I did the shading after the drawing, so the shading is “on top of” the drawing, which gives a weird color. So the shading layer needs to be “sent back”.
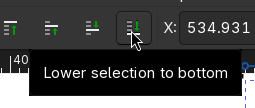
For this I use the inkscape tool “Lower selection to bottom”.
Case 3: Reflections and duplications. Goodnotes does not allow programmatic manipulation of diagrams. For some lower bound reductions, I need the same structure on the left and on the right, but mirrored. So I draw the left side, and also include the right side labels since they are different and not mirrors of the left side labels.
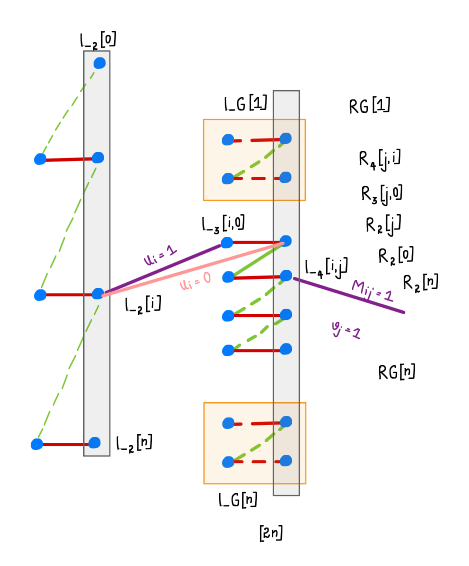
I select the left side that needs to be duplicated, and use ‘Ctrl+d‘ to duplicate, then move it over to the right and remove the unnecessary labels. Then I mirror it using the ‘Flip selected objects horizontally’ using ‘h‘ and move it into place, then move the relevant labels to the correct places.
At the end of this step, there should be a file called $PROJECT/figures/<chapter>/<image>.svg.
Step 6: Converting svg to pdf
One could have tried exporting as pdf in the last step directly from Inkscape. This fucks up the shading from the “highlighting” tool from Goodnotes, you can try and see how it goes. So I need to use cairo. I go to the corresponding folder and run
cairosvg "input.svg" -o "input.pdf"
Since I have many svgs, I have the following script saved as $PROJECT/figures/svg2pdf.
#!/bin/bash

FOLDER="$1"

if [ ! -d "$FOLDER" ]; then
    echo "Error: Folder ’$FOLDER’ does not exist."
    exit 1
fi

for f in "$FOLDER"/*.svg; do
    pdf="${f%.svg}.pdf"
    echo "Converting $f -> $pdf"
    cairosvg "$f" -o "$pdf"
done
I call it as ./svg2pdf <chapter> and it converts all the svgs in the $PROJECT/figures/chapter/ subfolder to pdfs.
Step 7: Including the figure in latex
The \graphicspath takes care of setting the folder, so I just need to name the file that I want to use. So I use unique names for all figures across all directories.
I include the full page images like so.
\setpagebg{partridge}
This command is self-defined, like the following, in formatting.tex
\makeatletter
\newcommand{\setpagebg}[1]{\AddToShipoutPictureBG*{\includegraphics[width=\paperwidth,height=\paperheight]{#1}}}
\makeatother
This command requires a \usepackage{eso-pic} in packages.tex.
The margin images go like so.
\sidefigure[*-4]{neighboring}
The optional argument to sidefigure is an offset, so *-4 offsets it upwards by 4 times the \baselineskip.
It is self-defined in formatting.tex using \marginfigure, a command already present in kaobook.
\newcommand{\sidefigure}[2][0pt]{\begin{marginfigure}[#1]\includegraphics{#2}\end{marginfigure}}